
Section 01
By the time you reach a final walkthrough, you’ve already cleared several major milestones. Your offer was accepted, the home inspection is done, the appraisal came back, your loan was approved, and closing is on the calendar. It would be reasonable to assume the property itself is now a settled matter.
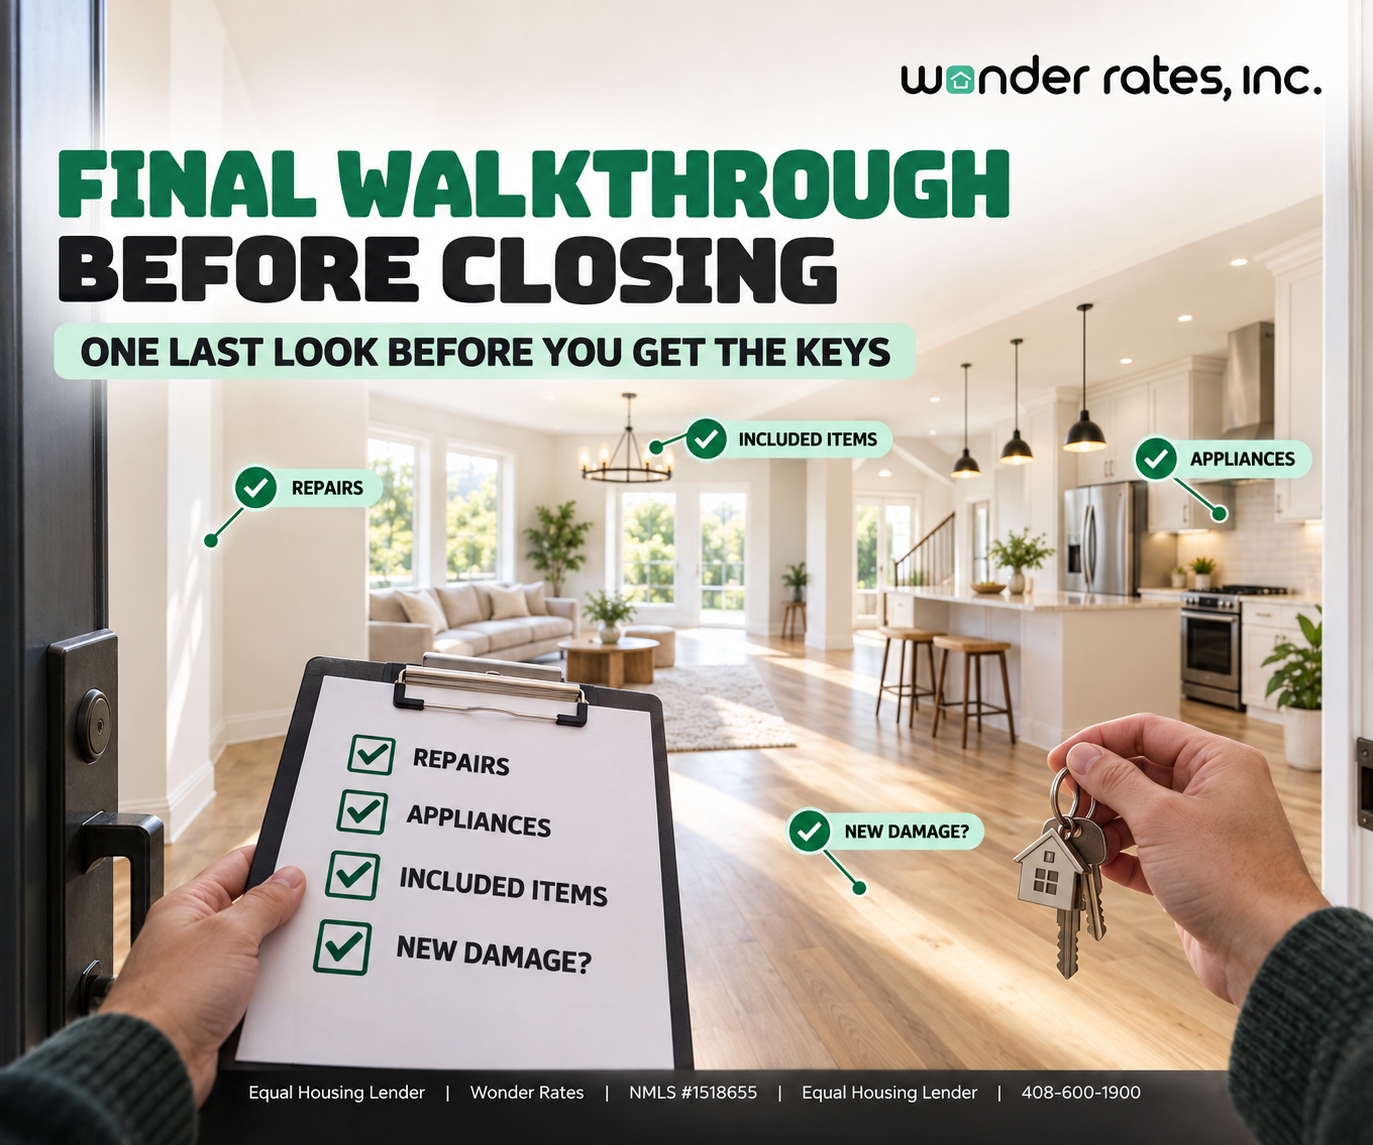
But a home can still change between all of those earlier steps and the day you actually close. The final walkthrough gives you one last opportunity to verify the property’s condition before the transaction is completed. It is worth being clear about what this step is not. It is not a second home inspection. Instead, you are primarily confirming that agreed repairs were completed, that included appliances and fixtures are still there, that no significant new damage has occurred, and that the property is being delivered according to your purchase agreement.
Before you sign the final paperwork, here is what you should know about the final walkthrough and what to look for.
Section 02
What Is a Final Walkthrough?
A final walkthrough is the buyer’s last opportunity to visit and visually inspect the property shortly before closing. It is usually performed close to closing, and the buyer typically attends with their real estate agent, though exact timing varies by transaction.
The walkthrough is based on the condition and obligations established in your purchase agreement. It is not intended to identify every defect in the property, and it is not a substitute for the professional inspection you likely already had earlier in the process.
What Is the Buyer Actually Confirming?
There are really four things you’re checking for during a walkthrough. The first is condition, meaning whether the home is generally in the state you expect based on your last visit. The second is repairs, meaning whether the seller completed the repairs you agreed on. The third is included items, meaning whether the appliances, fixtures, and other items that were part of your agreement are still actually there. The fourth is new damage, meaning whether anything happened to the property after your inspection or during the seller’s move out.
Example: A buyer inspected the property three weeks before closing, and everything looked fine at the time. At the final walkthrough, they discover a large scratch across the hardwood floor that was not there during the inspection. The walkthrough is exactly what gives the buyer an opportunity to identify this kind of change before closing, rather than after they already own the home. This example is illustrative only and does not represent every walkthrough or guarantee how a similar issue would be resolved.
Section 03
Why Is the Final Walkthrough Important?
It helps to think about how much can actually happen to a property between the initial showing, the inspection, the appraisal, and the day of closing. The seller may still be moving furniture out. Agreed repairs might be in progress or newly finished. Appliances could be removed by mistake or on purpose. New damage can occur during the move itself. Systems can fail without warning. The property might not be cleaned or emptied the way the contract requires, or a previously agreed repair might simply not have happened yet.
The Inspection Does Not Guarantee the Same Condition at Closing
Your home inspection represents the condition of the property at the specific time it was inspected. It does not, and really cannot, guarantee that nothing will change afterward. The final walkthrough exists precisely to provide a later checkpoint, closer to the actual transfer of the property.
It Is the Last Chance to Raise Certain Issues Before Closing
Timing matters quite a bit here. Generally, you want to identify issues before the transaction is completed, rather than discovering them after you’ve already received the keys. That said, finding a problem at the walkthrough does not automatically mean you have the right to delay or cancel closing. What options are actually available to you depends on your specific purchase agreement and the nature of the issue, which is covered in more detail later in this article.
Section 04
Final Walkthrough vs. Home Inspection
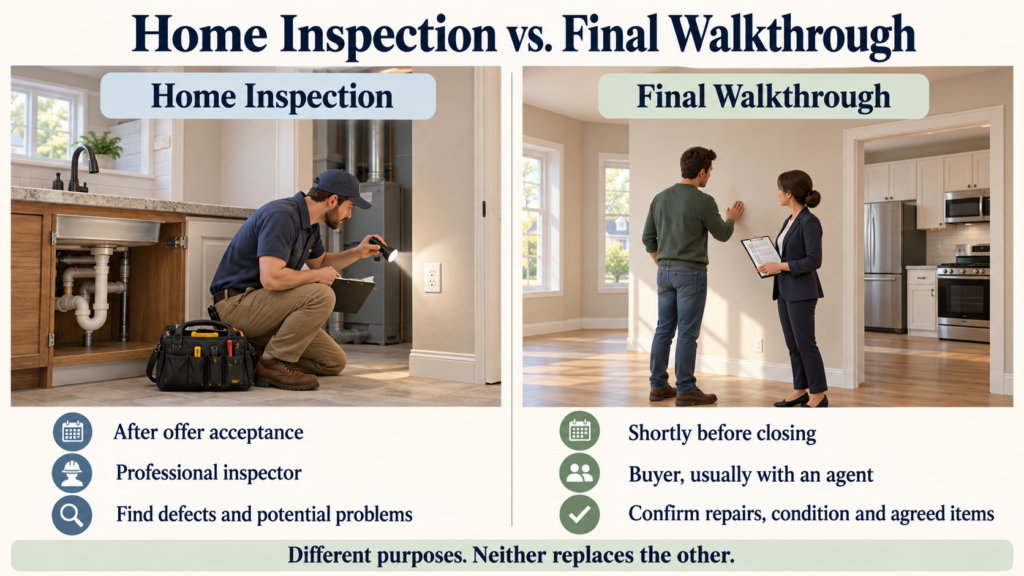
These two steps are often confused, but they serve genuinely different purposes at different points in the transaction.
| Home Inspection | Final Walkthrough | |
|---|---|---|
| Timing | After offer acceptance | Shortly before closing |
| Main purpose | Evaluate property condition | Confirm final condition |
| Performed by | Professional inspector | Buyer, usually with a real estate agent |
| Detailed inspection | Yes | No |
| Focus | Defects and potential problems | Repairs, changes, damage, and agreed items |
| Replaces the other? | No | No |
The Simple Difference
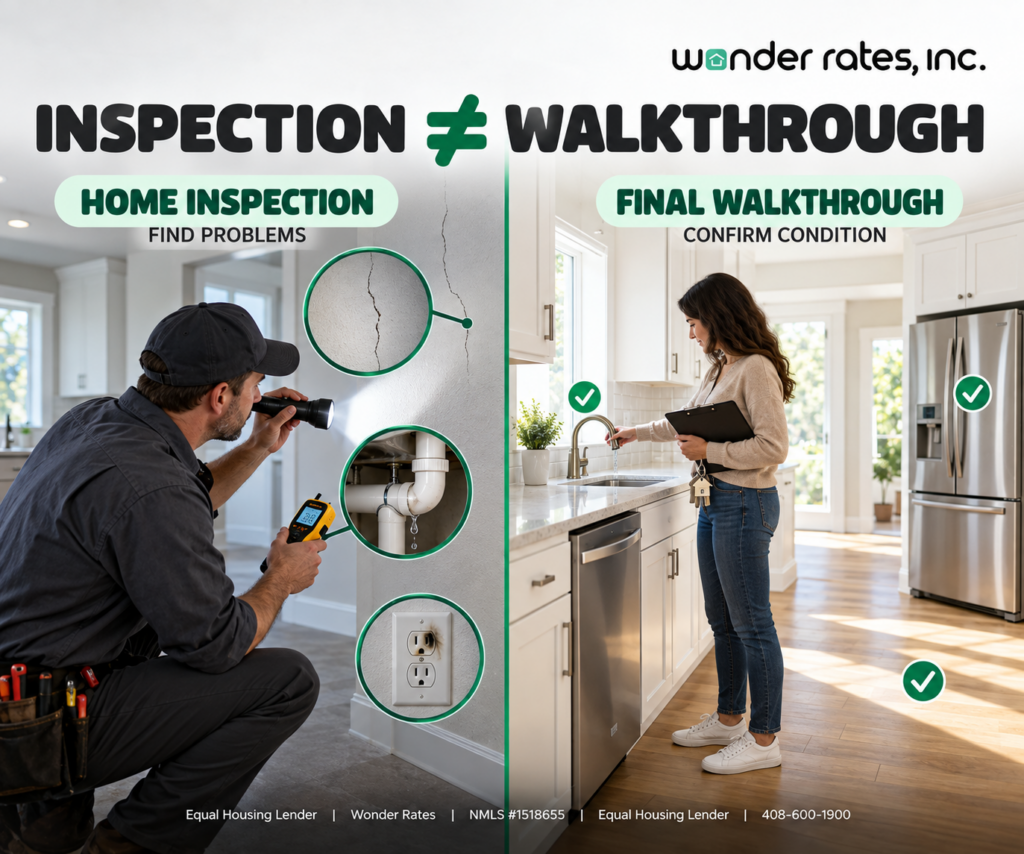
A home inspection is essentially asking what problems this property has. A final walkthrough is essentially asking whether the property is still in the condition you agreed to purchase. If you want a deeper explanation of what a home inspection actually covers and how it differs from an appraisal, see our guide to Home Appraisal vs. Home Inspection. Neither one replaces the other, and both play a distinct role in protecting you as a buyer.
Section 05
When Should You Do the Final Walkthrough?
The final walkthrough is generally performed shortly before closing, though the exact timing depends on the transaction and what your purchase agreement specifies. Some transactions schedule it a day or two ahead of closing, while others schedule it closer to the closing appointment itself. The goal is simply to make the walkthrough close enough to closing that you’re seeing the property’s near-final condition, while still leaving yourself enough time to raise any issues that come up.
Why Timing Matters
There’s a meaningful difference between a walkthrough conducted a full week before closing and one conducted immediately beforehand. The closer the walkthrough is to closing, the more current your understanding of the property’s actual condition will be. There is no single universal number of hours or days that applies to every transaction, since this depends on your specific contract and local practice, so it’s worth confirming the expected timing with your real estate agent early in the process.
Section 06
What Should You Check During a Final Walkthrough?
It helps to think of the walkthrough as a final checklist rather than another inspection. You’re not trying to uncover hidden problems the way an inspector would. You’re confirming that what was promised is actually there.
1. Check That the Seller Has Vacated the Property
This means checking for personal belongings, furniture, and items left behind in closets, the garage, the basement, the attic, and other storage areas. Exactly what “vacant” means for your specific transaction depends on the terms of your purchase agreement.
Example: A seller agreed to deliver the property vacant. During the walkthrough, the buyer discovers furniture and personal belongings still occupying the garage. The buyer should bring this to their real estate agent’s attention before closing, rather than assuming it will be handled automatically. This example is illustrative only and does not represent a guaranteed resolution for a similar situation.
2. Verify Agreed-Upon Repairs
It’s worth reviewing any repairs that came up during inspection negotiations, in a repair addendum, in the purchase agreement itself, or in any other written agreement between you and the seller. Common examples include plumbing repairs, electrical repairs, HVAC repairs, roof repairs, broken fixtures, water leaks, and garage door repairs.
Example: The inspection identified a leaking pipe beneath the kitchen sink, and the seller agreed to repair it as part of the negotiation. At the walkthrough, the buyer opens the cabinet and sees the pipe is still leaking. This kind of finding should be documented and raised before closing rather than assumed to be a minor detail that will sort itself out. This example is illustrative only and does not represent a typical repair outcome.
3. Check Appliances Included in the Sale
Depending on your agreement, this might include the refrigerator, dishwasher, oven, range, microwave, washer, and dryer. It’s worth verifying these directly against your purchase agreement rather than relying on listing photos, which may not accurately reflect what was actually negotiated to stay with the home.
Example: The refrigerator was specifically included in the purchase agreement, but at the final walkthrough, the refrigerator is missing entirely. The buyer should raise this issue before closing, since it directly conflicts with what was agreed to in writing. This example is illustrative only.
4. Check Fixtures and Other Included Items
Depending on the agreement, this can include light fixtures, ceiling fans, mirrors, built-in shelving, window treatments, garage door equipment, and other attached or specifically included items. It would be a mistake to assume every item automatically stays with the house. What actually matters is what your purchase agreement says, not general assumptions about what “usually” stays.
5. Test Basic Electrical Functions
You can reasonably turn on lights, test obvious outlets, check switches, and confirm that major electrical functions appear to be working. This is not an electrical inspection, and you should not attempt to open electrical panels or perform any technical testing yourself. If something seems seriously wrong, that’s a conversation for your agent and, if needed, a licensed professional.
6. Test Basic Plumbing Functions
Check the faucets, toilets, visible drains, water supply, and look for any obvious leaks you can see without disassembling anything.
Example: A buyer turns on the kitchen faucet during the walkthrough and notices water leaking beneath the sink. Identifying this before closing is clearly preferable to discovering it after moving in, when it becomes entirely the buyer’s problem to solve and pay for. This example is illustrative only.
7. Check the HVAC System
This includes heating, air conditioning, the thermostat, and any obvious signs that the system isn’t operating as expected. This check becomes especially relevant if HVAC was part of your inspection negotiations, if the seller specifically agreed to repair it, if the home has been sitting vacant for a while, or if current weather conditions make a working system particularly important.
Example: The seller agreed to repair the air conditioning system as part of the negotiated repairs. During the walkthrough, the thermostat is set to cool, but the system doesn’t appear to be running at all. The buyer should raise this before closing rather than assuming it’s a minor oversight. This example is illustrative only.
8. Look for New Damage
Keep an eye out for scratched floors, damaged walls, broken doors, cracked windows, damaged cabinets, water damage, garage damage, and any damage that may have occurred during the seller’s move.
Example: The hardwood flooring was completely undamaged during the original inspection. During the seller’s move, heavy furniture caused a large scratch across the floor, and the buyer notices it during the final walkthrough. This is exactly the type of change a final walkthrough is intended to catch before the transaction closes. This example is illustrative only.
Section 07
Final Walkthrough Checklist
Use this as a practical starting point, not a substitute for a professional inspection or legal review.
- Seller has removed belongings as required
- No significant new damage is visible
- Agreed repairs are completed
- Included appliances are still present
- Agreed fixtures are still present
- Lights and basic electrical functions work
- Faucets and toilets work
- HVAC operates at a basic level
- Garage door operates
- Property generally matches the purchase agreement
- Any unresolved issues have been documented and reported
Section 08
What If You Find a Problem During the Final Walkthrough?
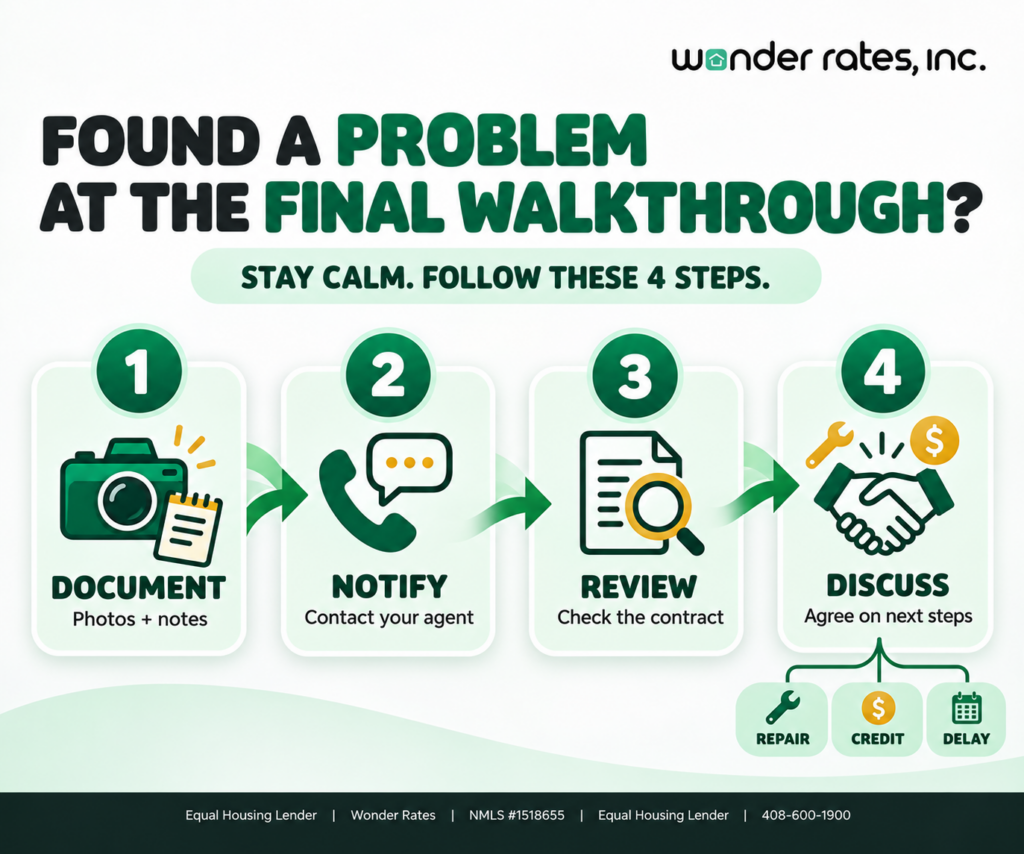
Finding an issue during the walkthrough isn’t the end of the process. There’s a reasonable path forward, and it starts with staying calm and methodical rather than reacting emotionally in the moment.
The first step is documenting the issue. Take photos where appropriate, note exactly what you observed, and compare it directly against your agreed documents rather than relying on memory. The second step is notifying your real estate agent, explaining the issue clearly rather than trying to negotiate directly with the seller without guidance. The third step is reviewing the purchase agreement together to determine what was actually promised or required in writing. The fourth step is discussing possible solutions, which depending on the circumstances might include the seller completing the repair, a credit where permitted, a holdback or other agreed arrangement where permitted, delaying closing if appropriate and mutually agreed, or another negotiated solution entirely. If a repair, credit, or other closing adjustment changes the numbers you are planning around, you can use the Wonder Rates Mortgage Payment Calculator to compare how different home-price and payment scenarios may affect your monthly budget. If you’re approaching closing and want to understand what can still affect the transaction at this stage, see our guide to 5 things that can delay a mortgage closing.
It would be inaccurate to say that a buyer can always simply refuse to close after finding a problem. The appropriate response genuinely depends on the purchase agreement, the nature of the issue, applicable law, and the specific circumstances of your transaction. The CFPB specifically advises buyers to make sure everything agreed to be repaired has actually been repaired, and anything the seller agreed to leave in the house is in place, contacting the seller immediately to discuss if it isn’t.
Section 09
Example: When the Property Is Not in the Agreed Condition
Example: A buyer is purchasing a home for $650,000. During the inspection process, the seller agreed to repair a leaking faucet, agreed to repair the garage door, and the refrigerator was included as part of the purchase agreement. At the final walkthrough, the faucet is still leaking, the garage door has not been repaired, and the refrigerator is missing entirely. The buyer should not simply assume they’ll close today and deal with it later. Instead, the more careful path is to document each issue, notify the real estate agent, review the purchase agreement to confirm what was actually promised, and discuss the available options before proceeding to closing. This is an illustrative scenario only and does not represent a guaranteed legal or contractual outcome for any specific transaction. How a situation like this actually gets resolved depends on the purchase agreement and applicable state law.
Section 10
Is a Final Walkthrough the Same as a Final Inspection?
No, and this distinction matters. A final walkthrough is not designed to identify every hidden defect, replace a professional home inspection, perform structural analysis, conduct a comprehensive electrical inspection, conduct a comprehensive plumbing inspection, or guarantee the future condition of the property in any way.
What it is designed to do is confirm the property’s general condition, confirm that agreed repairs happened, confirm that included items are still present, identify obvious new damage, and confirm that the property is generally being delivered as agreed in your contract.
Section 11
Should You Skip the Final Walkthrough If the House Looks Perfect?
Generally, no. A buyer shouldn’t skip the walkthrough simply because the property looks great from the outside or from memory.
Even when the inspection went well, the house is newly renovated, the seller seems entirely trustworthy, you’ve visited the property multiple times already, and it looks exactly like the listing photos, things can still change before closing in ways you wouldn’t expect.
Example: A buyer saw the home during inspection and everything was fine at that point. During the seller’s move, the garage door was accidentally damaged. The final walkthrough is what catches the problem before closing, rather than after the buyer has already taken possession. This example is illustrative only.
Section 12
Final Walkthrough for New Construction
Buyers purchasing newly built homes need to pay attention to a slightly different set of details. New construction may require additional attention to punch-list items, builder repairs, doors and windows, appliances, fixtures, HVAC, plumbing, flooring, cabinets, finishes, and anything else the builder specifically promised to complete.
Example: A builder agreed to repair a door that doesn’t close properly. At the final walkthrough, the door still doesn’t close correctly. The buyer should document the issue and raise it with the builder and the appropriate closing professionals according to the terms of the contract. This example is illustrative only. New construction still benefits from a genuine walkthrough and, where applicable, a professional inspection, even though the home is brand new and may feel like it needs less scrutiny than an older resale property.
Section 13
Common Final Walkthrough Mistakes
One common mistake is assuming the inspection was enough on its own, when in reality the inspection and the walkthrough occur at different stages of the transaction and serve genuinely different purposes. Another is not reviewing the purchase agreement beforehand, which means the buyer may simply forget what appliances, fixtures, repairs, or other items were actually agreed upon in writing.
Some buyers only look instead of actually testing things, when it’s worth testing basic systems where appropriate rather than simply walking through each room visually. Forgetting the garage, basement, or storage areas is another easy mistake, since these spaces get overlooked far more often than the main living areas. Not checking repairs closely enough is another common issue, since it’s a mistake to assume an agreed repair was completed simply because the seller said it was. Finally, waiting until after closing to raise an issue is generally the hardest position to be in, since issues are almost always easier to address when identified before the transaction is actually completed.
Section 14
Frequently Asked Questions
Is a final walkthrough required?
Requirements vary depending on the transaction, the purchase agreement, local practice, and applicable law. It would be inaccurate to say a final walkthrough is universally mandatory in every single transaction, though it is a widely recommended and commonly practiced step.
Who attends the final walkthrough?
Typically the buyer attends, usually alongside their real estate agent. Other parties may be involved depending on the specifics of the transaction.
How long does a final walkthrough take?
There is no single universal time requirement. It generally depends on the size of the property, the number of repairs being verified, the number of included items, the overall condition of the property, and the complexity of the transaction. There’s no rigid rule, such as a fixed thirty minutes, that applies to every walkthrough.
Can I cancel closing if I find a problem?
Not automatically. Finding a problem during the walkthrough does not by itself mean you can cancel closing. Your actual rights depend on the purchase agreement, the nature of the problem, any contract contingencies, applicable state law, and the specific circumstances of your transaction. It’s worth consulting your real estate agent, closing professional, or an attorney if a serious issue comes up.
What happens if the seller did not complete an agreed repair?
You should notify your real estate agent and the appropriate closing parties immediately. Potential solutions may include completing the repair before closing, a credit, a holdback, a delayed closing, or another negotiated solution, all subject to your purchase agreement and applicable rules.
Can I do the final walkthrough myself?
Buyers generally attend the walkthrough themselves, often together with their real estate agent. That said, a walkthrough is not a substitute for a professional inspection or legal advice when either of those is genuinely needed for a specific issue.
Does the final walkthrough replace a home inspection?
No. An inspection evaluates the property in detail. A final walkthrough confirms the property’s condition before closing. They serve different purposes at different points in the process.
Section 15
Final Thoughts
A final walkthrough is a relatively simple step, but it gives buyers one last opportunity to confirm that the property is in the expected condition, that agreed repairs were actually completed, that included items remain in place, that no significant new damage occurred, and that the property is being delivered according to the agreement you signed. If you have questions about how a property issue may affect your mortgage or closing timeline, you can get started with Wonder Rates and speak with a licensed mortgage professional.
Before you get the keys, take one last look. The goal is not to find every tiny imperfection in the home. The goal is to make sure the home you’re about to close on is still the home you agreed to purchase.
Section 16
Sources
- Consumer Financial Protection Bureau (CFPB), Close the Deal
- Consumer Financial Protection Bureau (CFPB), What should I do before, during, and after the mortgage closing process?
This article is provided for educational purposes only and does not constitute legal, financial, real estate, tax, or other professional advice. Final walkthrough procedures and buyer or seller rights may vary based on the purchase agreement, applicable state and local laws, and individual transaction circumstances. The examples provided are illustrative only and should not be interpreted as a guarantee of any specific outcome. Buyers should consult their real estate agent, closing professional, attorney, or other appropriately licensed professional regarding their specific transaction.
Wonder Rates, Inc. (NMLS #1518655) is an Equal Housing Lender. Loan approval is subject to credit review, underwriting, property eligibility, and applicable lending guidelines. Mortgage programs, interest rates, fees, and eligibility criteria may change without notice.
Duc Pham, Mortgage Broker | NMLS# 844897, Wonder Rates, Inc. | NMLS# 1518655 | DRE# 02047445 | DFPI# 60DBO-59134 | Equal Housing Opportunity. Equal Housing Lender. | Licensed in: AL, AZ, CA, CO, FL, GA, LA, MI, NC, OH, OK, OR, PA, SC, TX, VA, WA.